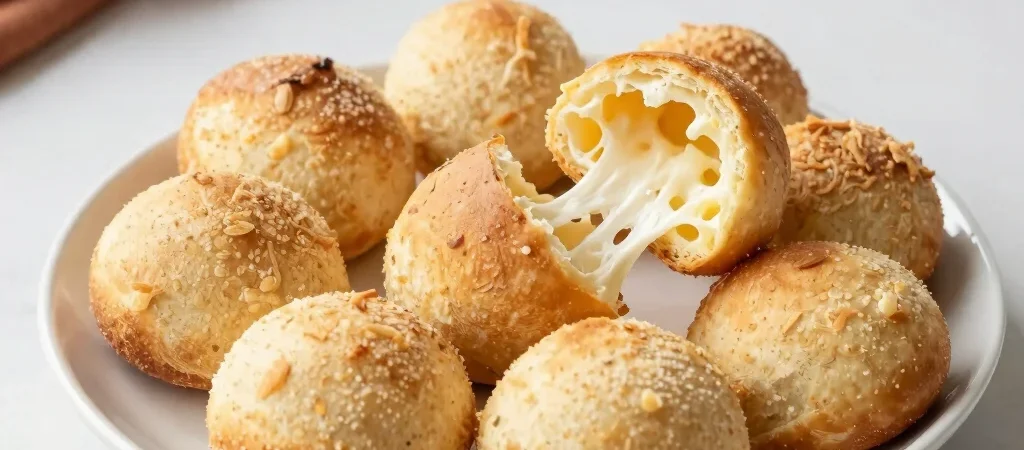
The trickiest moment with pão de queijo often comes before the oven: the hot milk and oil hit the polvilho, and the mixture looks lumpy rather than promising. Keep going. Once it cools slightly and meets the eggs and cheese, it becomes a soft dough that bakes into the familiar crisp-edged, chewy-centered rolls.
Build the dough carefully
For about 20 small rolls, set out 2 cups (250 g) sour cassava starch, 1 cup (120 g) sweet cassava starch, ½ cup (120 ml) milk, ½ cup (120 ml) neutral oil, 1 teaspoon salt, 2 eggs, and 1½ cups (150 g) finely grated meia-cura cheese. If meia-cura is unavailable, use a firm, flavorful cheese such as Parmesan, knowing the result will taste sharper and less like the Minas Gerais original.
Heat the milk, oil, and salt until steaming, then pour them over both starches in a heat-safe bowl and stir. Let the mixture cool until warm, not hot, before working in the eggs one at a time and then the cheese; the dough should be sticky but hold its shape. Sour starch helps create a lighter, more open texture, while sweet starch gives the rolls a smoother, chewier bite, so using both makes the result more balanced.
Shape and bake in batches
Heat the oven to 200°C (400°F) and line a baking sheet with parchment. With lightly oiled hands, roll the dough into balls about the size of a walnut, leaving space between them because they puff as they bake. Bake for 20–25 minutes, until risen and lightly golden; a deeply browned crust can make the outside tough before the center has had time to stay tender.
The dough is easier to shape if it rests for 10 minutes after mixing. If it seems too loose to roll, chill it briefly rather than adding a lot of extra starch, which can make the rolls dry. For smaller rolls, start checking a few minutes early.
Serve, save, and reheat
Serve pão de queijo warm, when the cheese is fragrant and the centers are still stretchy. Let leftovers cool completely, then store them in an airtight container at room temperature for a day or refrigerate for up to three days. Reheat in a hot oven or air fryer until the outside crisps again; a microwave warms them quickly but softens the shell.
You can freeze the shaped, unbaked balls on a tray, then transfer them to a freezer bag once firm. Bake from frozen at 200°C (400°F), adding a few minutes and checking that the centers are hot. Can you use only sweet or only sour starch? Yes, but expect a change in texture: all sweet tends to be denser, while all sour can be airier and more hollow.